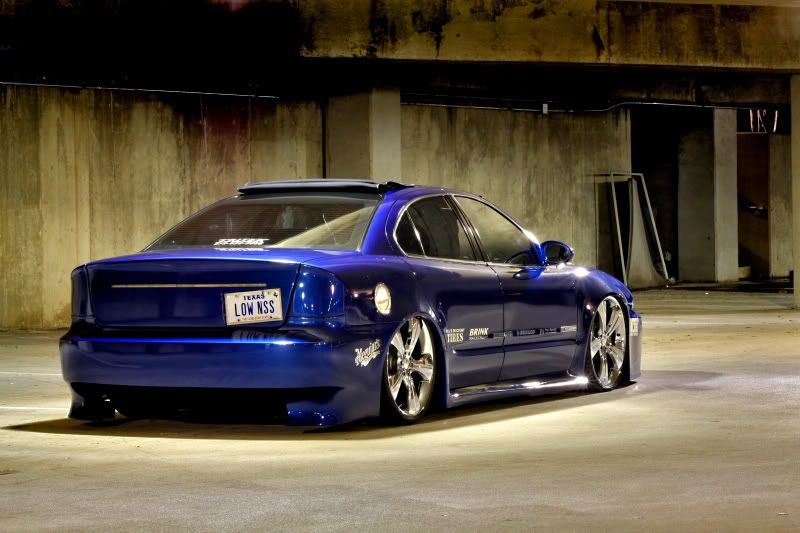
Hi All, I just wanted to post up a progress thread of getting the air suspension put into the blue Alero I bought from Richie. It had air suspension at one time, but it was removed and sold/parted before I bought the car. Honestly I'm pretty glad that it WAS removed, because I never would have bought the car when it had the 8-10k price range he wanted with the air ride. That, and I'd much rather do this myself so that I know how everything goes together and works.
I know I know, the car was bought, not built, lol but I'm gonna be doing projects on pretty much every aspect of this car, from this, to the motor/tuning, paint, stereo, etc. As any of you that know me, I tend to never leave things untouched. I don't regret buying this car one bit though.
Quite a few people asked me to post pics as I went along with things on the car, and the work that Richie put into the designing and planning of this car really speaks a lot. As I've been tearing into it, I keep finding cool little things that make me appreciate the car that much more. I'll try to post as many pics as I can, and I'll try to link all from photobucket so as not to suck up the bandwidth around here lol.
So, on to the start of the air suspension. I purchased used a set of easystreet air struts, 8 SMC 1/2" air valves, 2 viair 450 compressors, and a switchbox. These came from a member on gaownsersclub, JordanGT. Cool guy, and has been great to work with so far even when things went poorly. Poorly you say? lol, well let's just say that some of the stuff did not arrive in the best of shape. But all should still be fine, just taking things in stride.

If you've read this far, you're probably wanting some pics, so here we go.
This is where it starts.
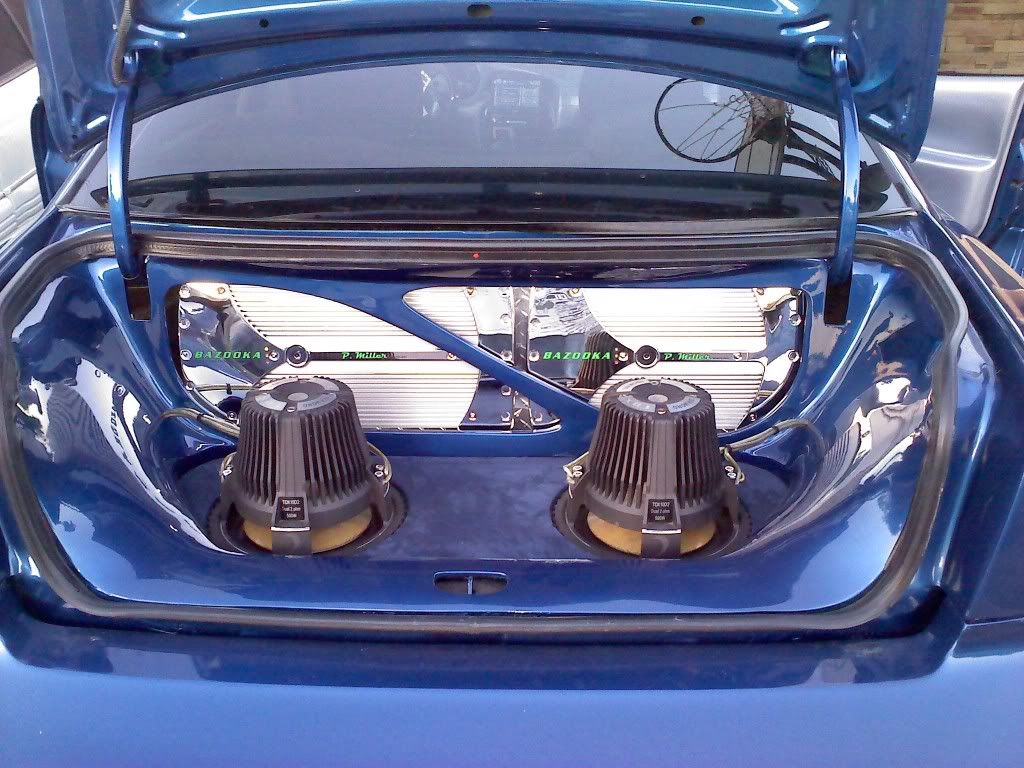
I love opening this trunk lol
Start pulling stuff out.

little dusty, but these subs sound amazing
Once the weatherstripping is removed, the fiberglass cover piece can be squeezed and massaged out. Underneath is the speakerbox. I like how the handles were attatched to make it easier to work with.
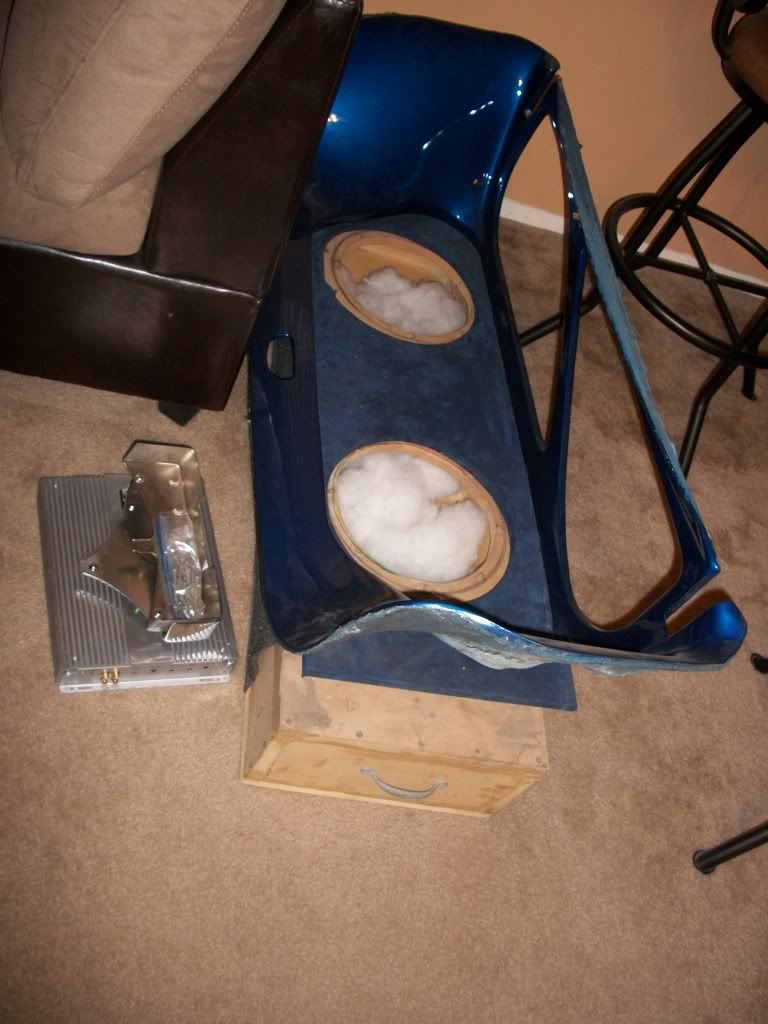
The amp next to it was broken, but still left installed for looks, and another amp was behind the amprack powering the mids and highs. I took the amp in and got it fixed already, that's why it's sitting there
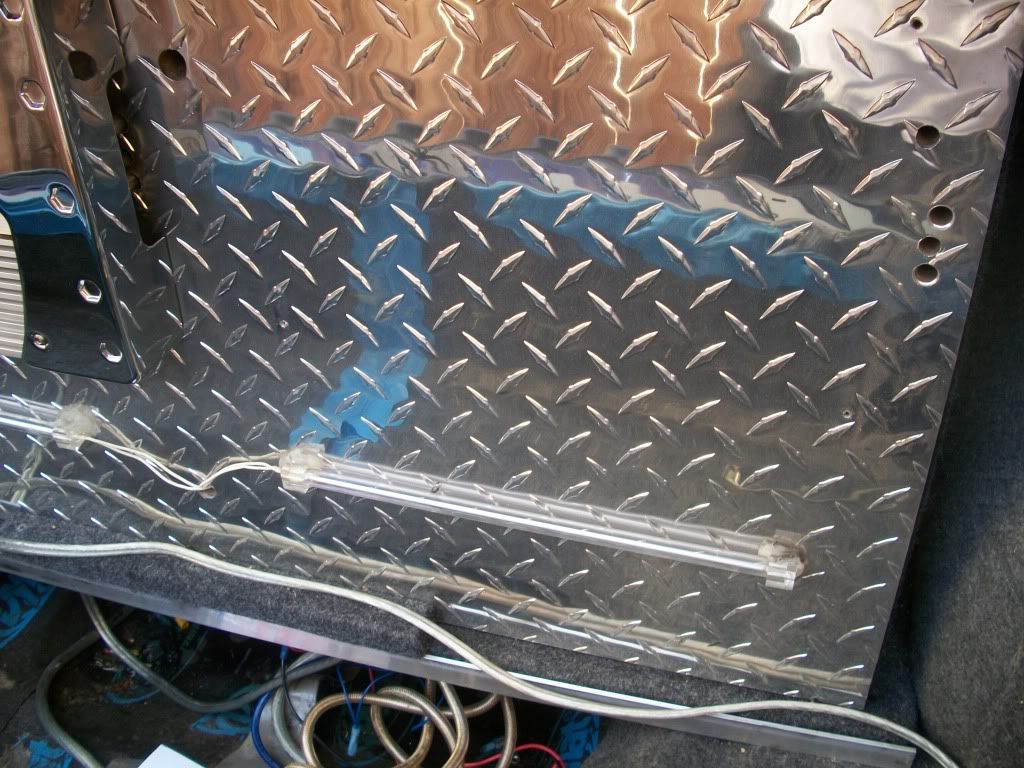
that's where the "now fixed" amp mounts. holes drilled through the mounting board to hide all the wires.
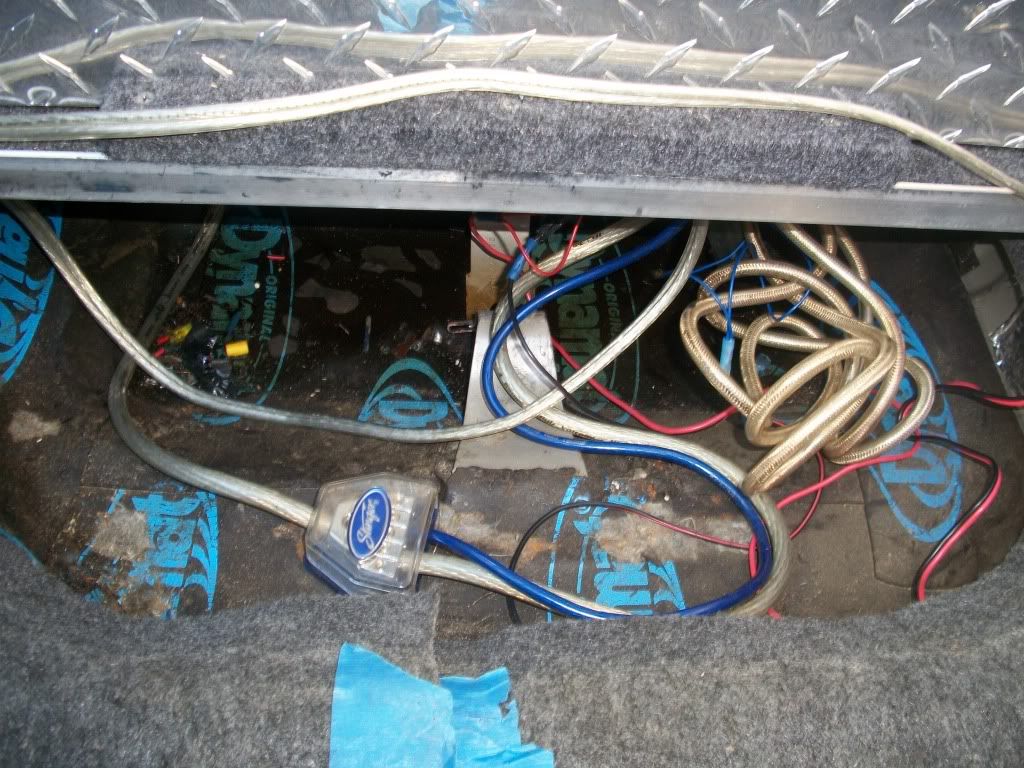
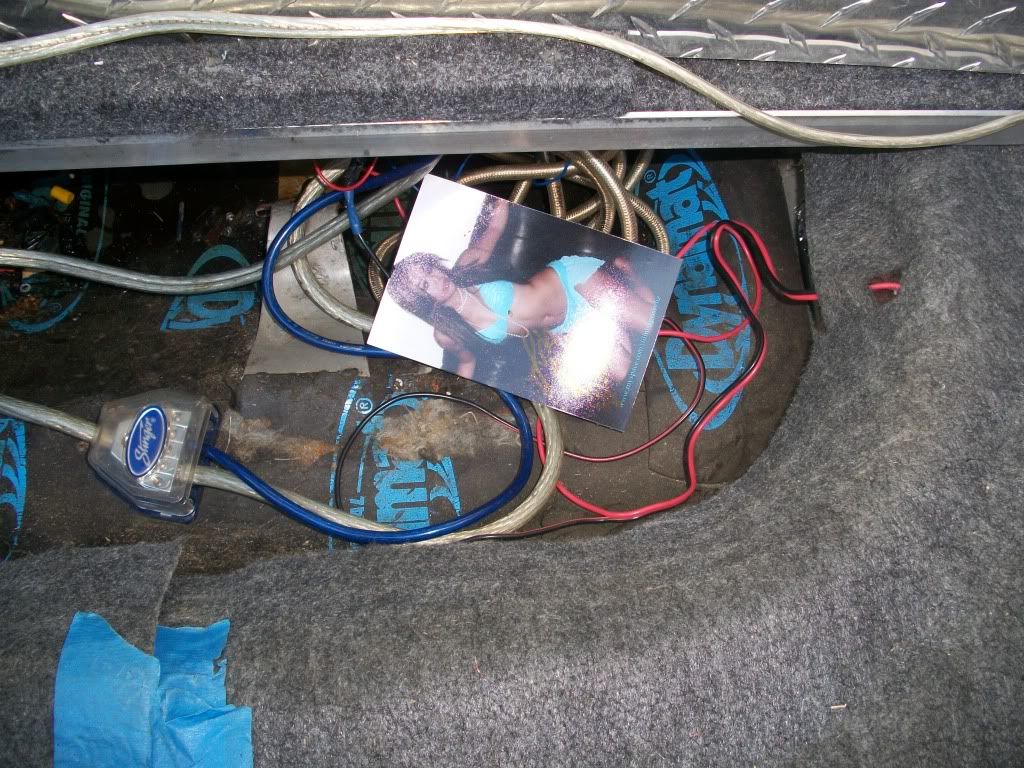
here's the spare tire well which will house all the valves for the air suspension. Also a pic left down there of some hottie car model with a note on the back. Richie you sly dog, lol I hope you got a piece of that one! hehe.
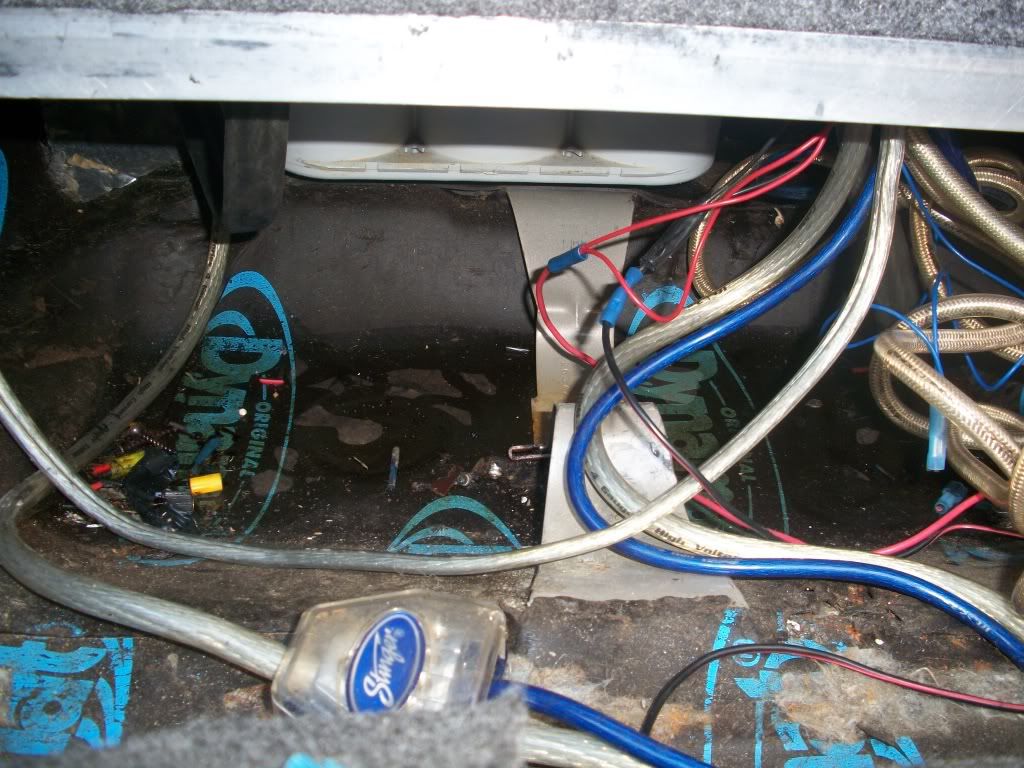
and another showing where the battery sits in there too. Lotsa wires! between the amps, subs, and all the lights that light up the amps and trunk, it took me a few to figure out just what went where. Adding another 20 to 30 wires in there for all the valves and pressure switches and stuff is gonna be fun.
So now we go in through the backseats and see what we're working with.
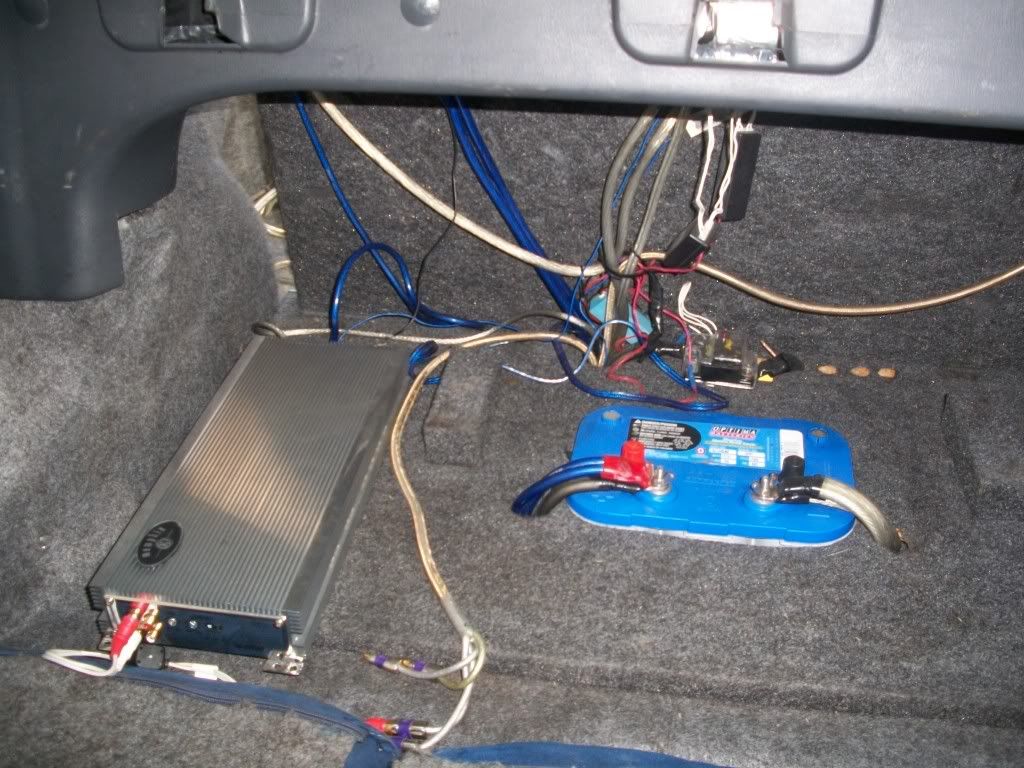
There's the other amp that was running the mids and highs. It will be removed shortly. Also you can see the "feet" for the air tank to sit on. This way it sits above the battery and creates space for all the terminals. And like I said, there's a lot of wiring back here.
So we move the amp aside and test fit the compressors.
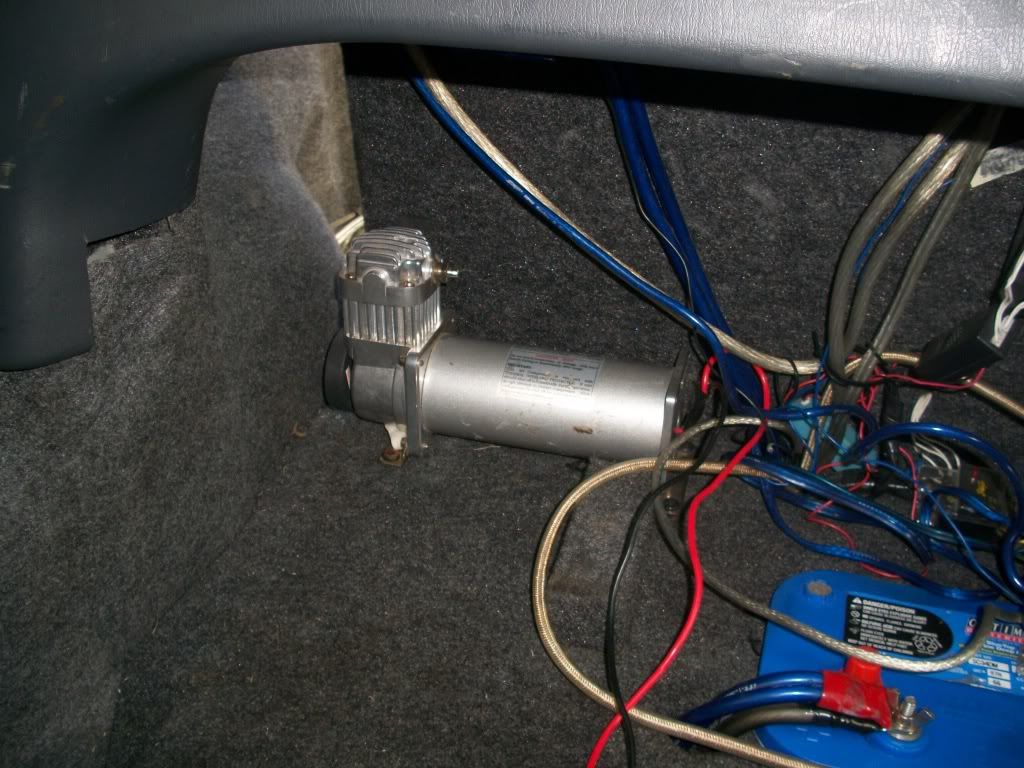
one sits there, and one on the opposite side. Like a glove. The use of space in this trunk amazes me. Fitting all that goes in here and still making it look good when it's finished from the trunk or through the seats.
And here we have the dash. It didn't have a CD player when I got it, He wanted to keep his, so I bought one from a buddy that owns a shop here, and I was pleasantly surprised that the color scheme on the screen matches EXACTLY with the color scheme of the interior. The blue and the silver match so well, you'd have thought it was made for the car.
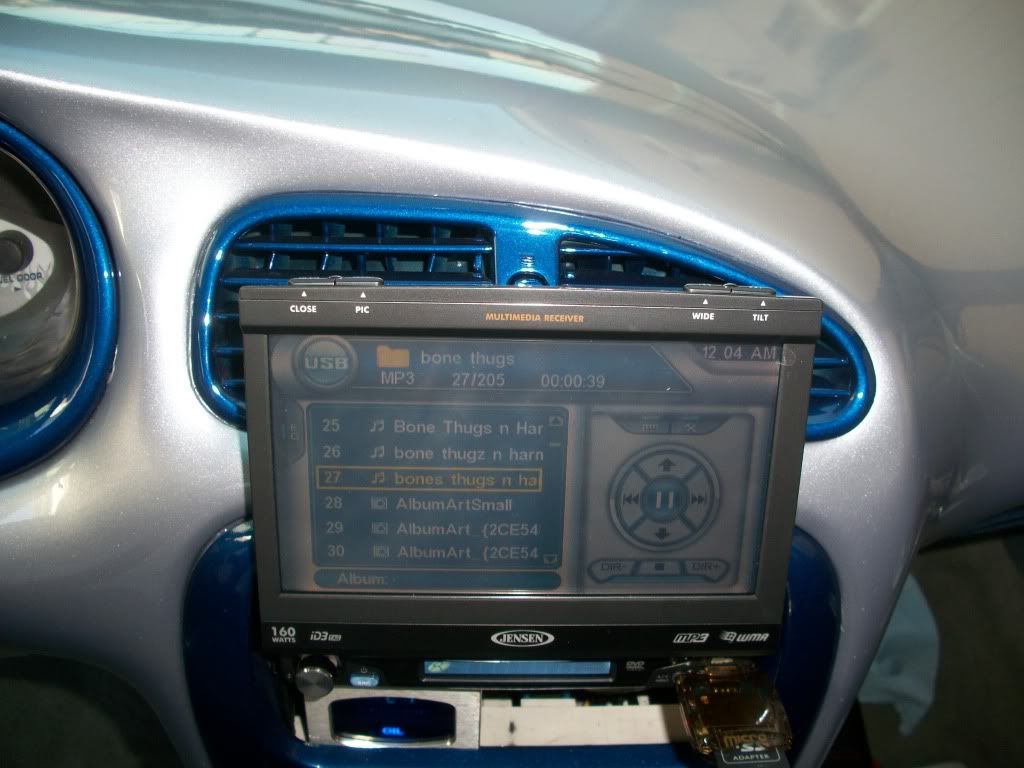
It's hard to get a good shot of it because of the glare. Here's another pic. You can see in this one the hole where the dakota digital quad air pressure gauge goes. I'm ordering one of those this weekend.
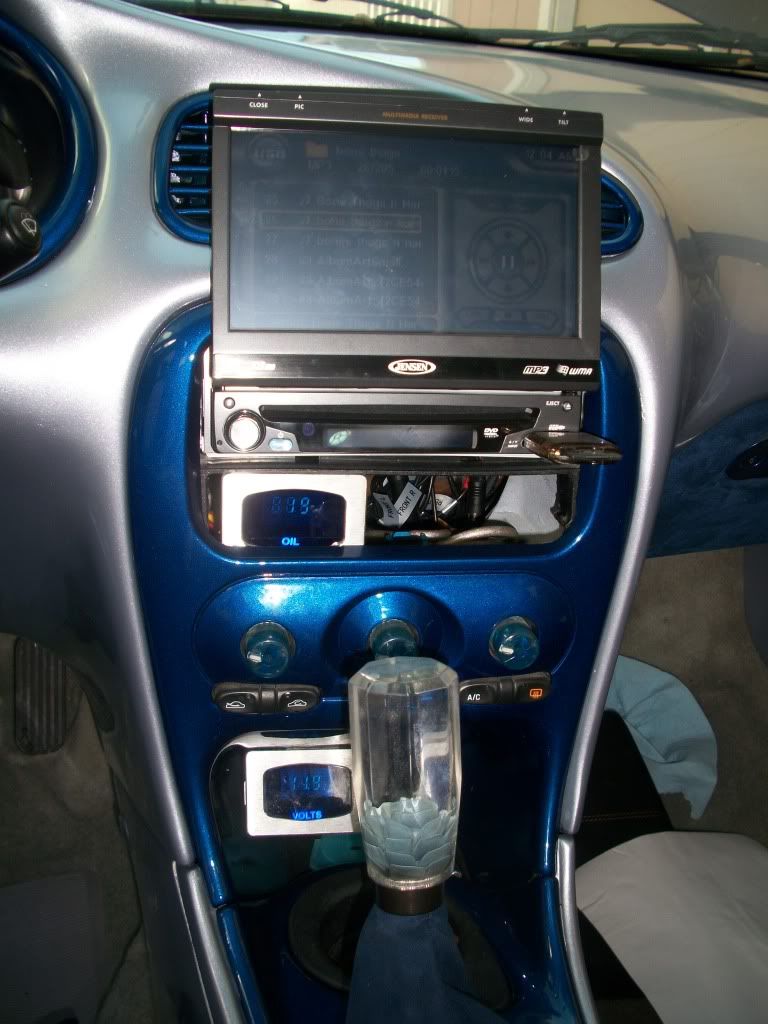
Love it or hate it, that shift knob stays. I wan't a huge fan of it when I saw pics, but it looks so good in person that it definitely won't be going anywhere.
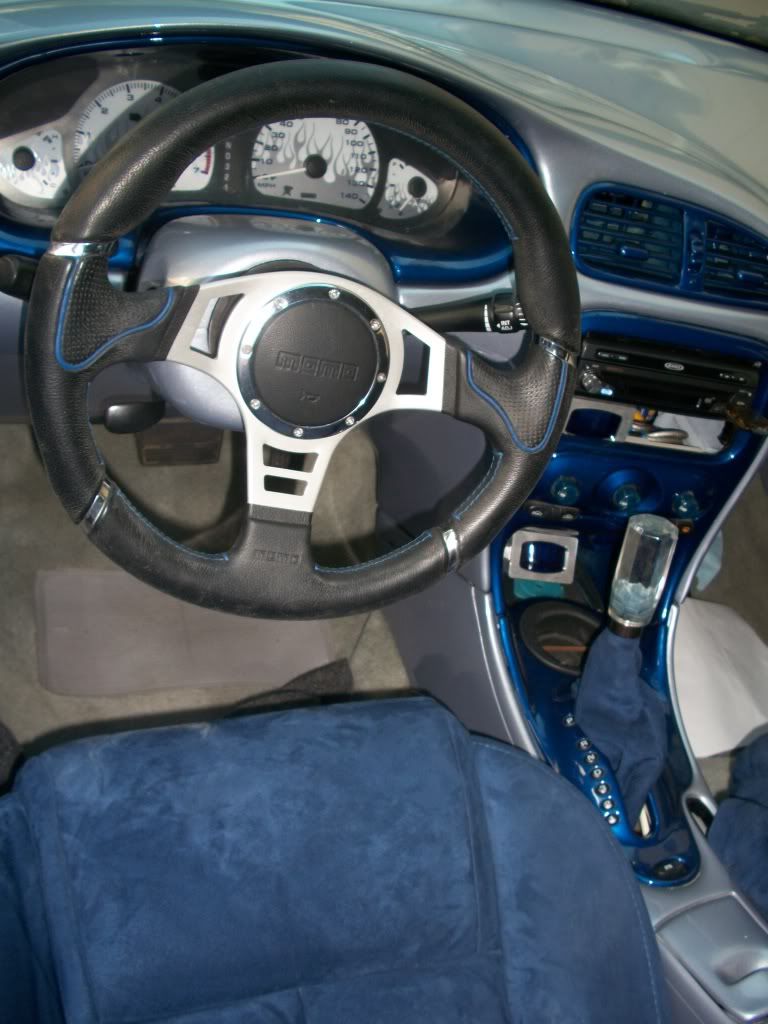
The steering wheel is now this one instead of the billet one. I like it. I didn't fancy myself a billet steering wheel guy, but I'll bet it looked nice when he had it on there.
So here's the pile of uninstalled parts I'll be working with once the rest of the stuff comes in and gets squared away.
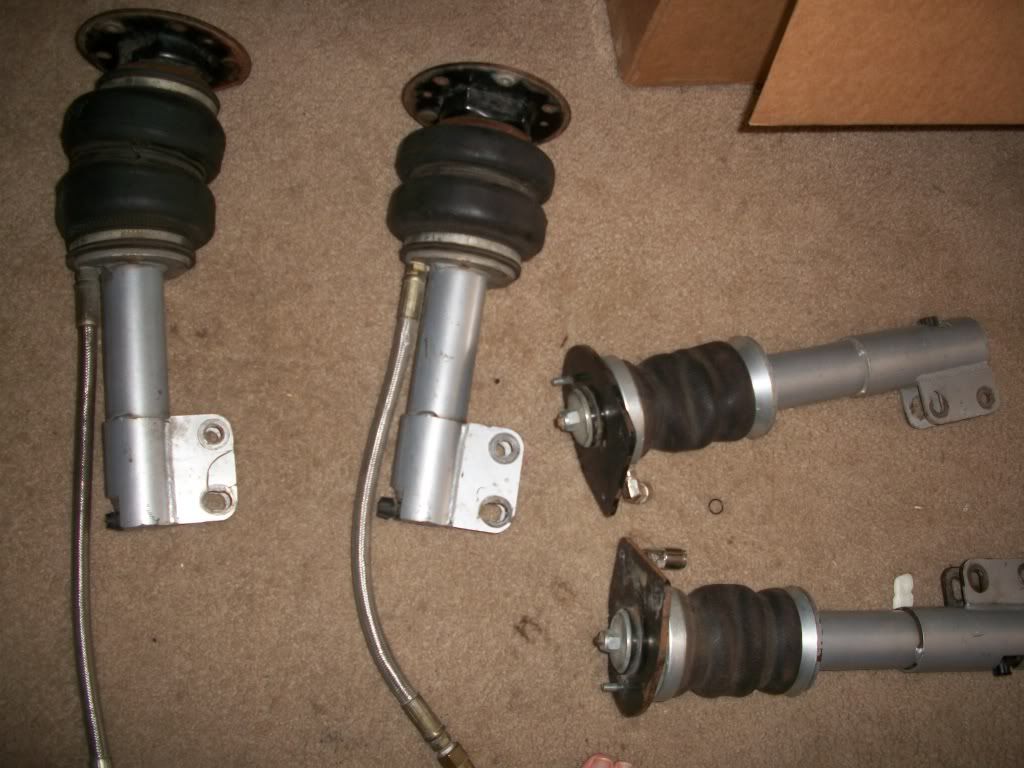
now here you can see one of the front air struts is definitely not looking quite right. There's no coming back for that one. It's fubar'd. Jordan is being a stand up guy about it though, and said he's gonna refund some money towards replacing it.
The switchbox.
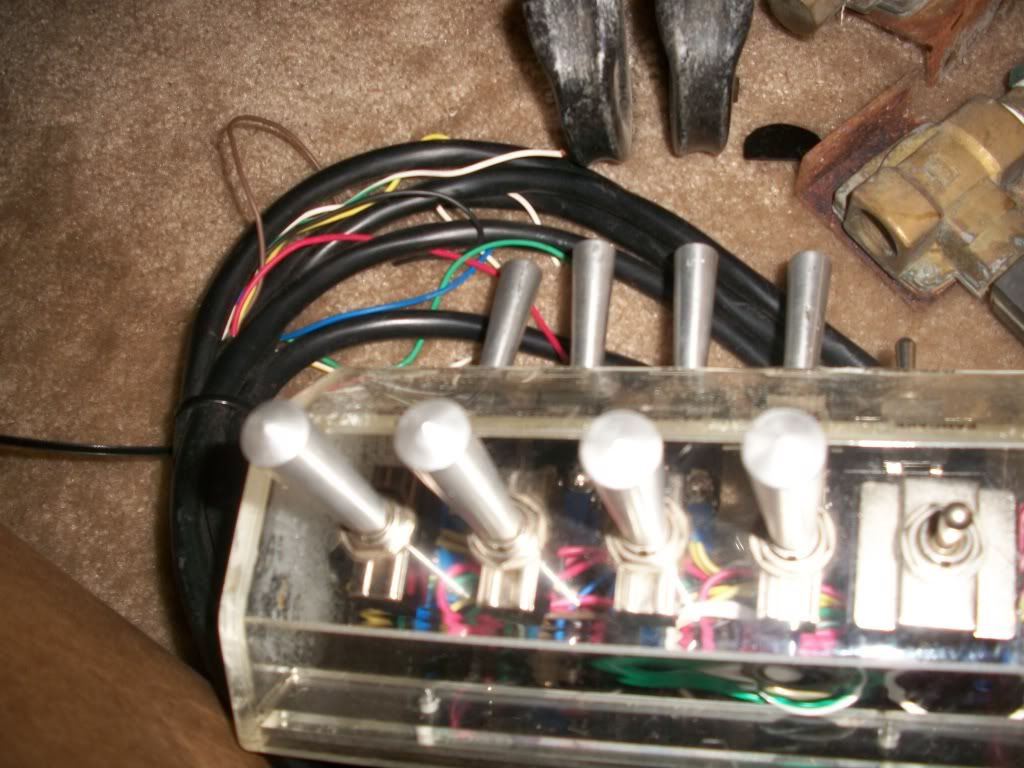
Some damage to this as well. This looks like it just got busted in shipping, you can see a couple of the switches that don't line up right. They're broken, and the bottom side of the box is cracked up pretty good too. No biggie. Got another one of those coming too, and I might use the switch extenders off of this one.
The compressors and valves.
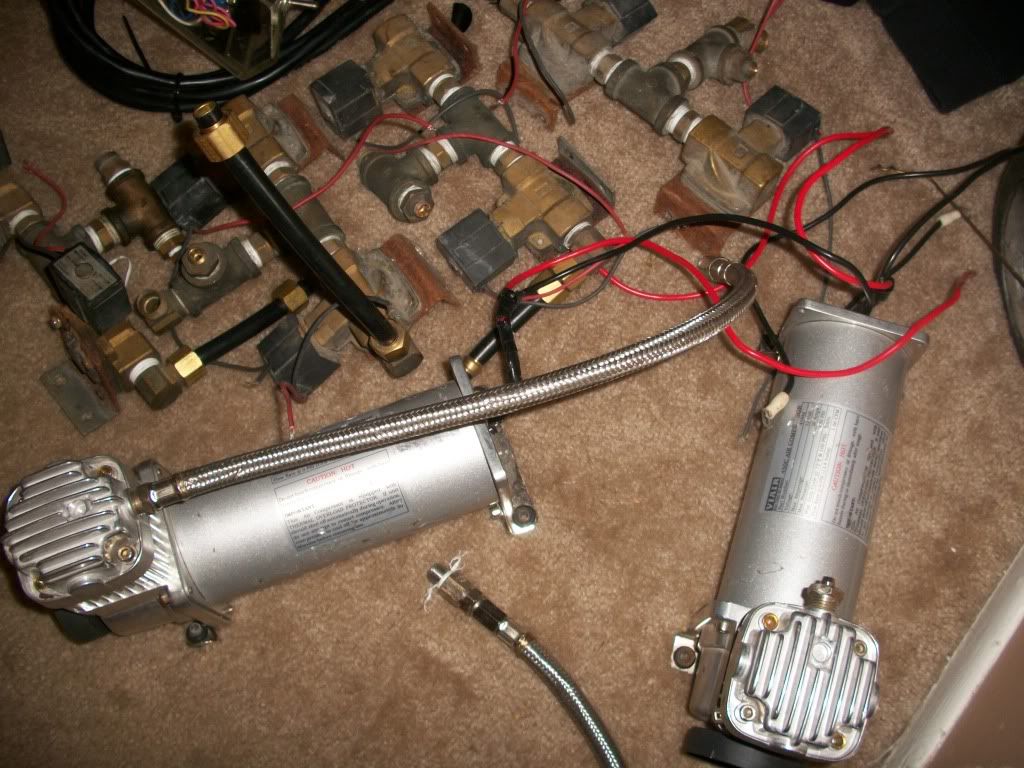
One of the leader hoses is broken, but that's getting replaced. Need filters too. They're quieter than I originally expected. Stoked on that. We'll see how it actually sounds when there's 2 of em running in the car though.
So, not a whole lot of install yet, I'm gonna try to fab up a board to sit in the spare tire well to mount the valves to. I'll try to make the wiring and air line as organized as possible.
Haven't decided wether to use regualr air line or braided stainless line for the air... Obviously braided ss lines will be durable and nicer looking, but i'm wondering if the cost outways the benefits. Does anyone have any input on this?
On order is still the replacement air strut, switchbox, and an air tank, plus the dakota digital gauge, and pressure switch, and some assorted stuff for the wiring. Should get the stuff soon. Still waiting on the final quote for everything.
As of now the car sits about like this.
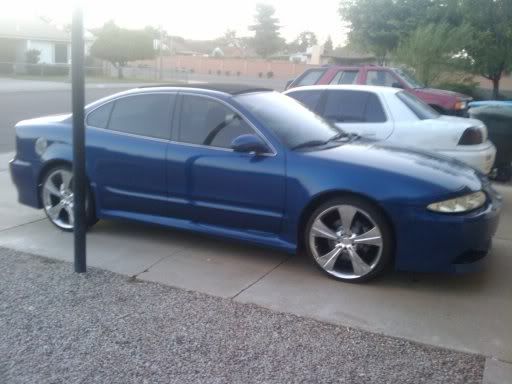
Can't wait to have it sitting about like this though.
